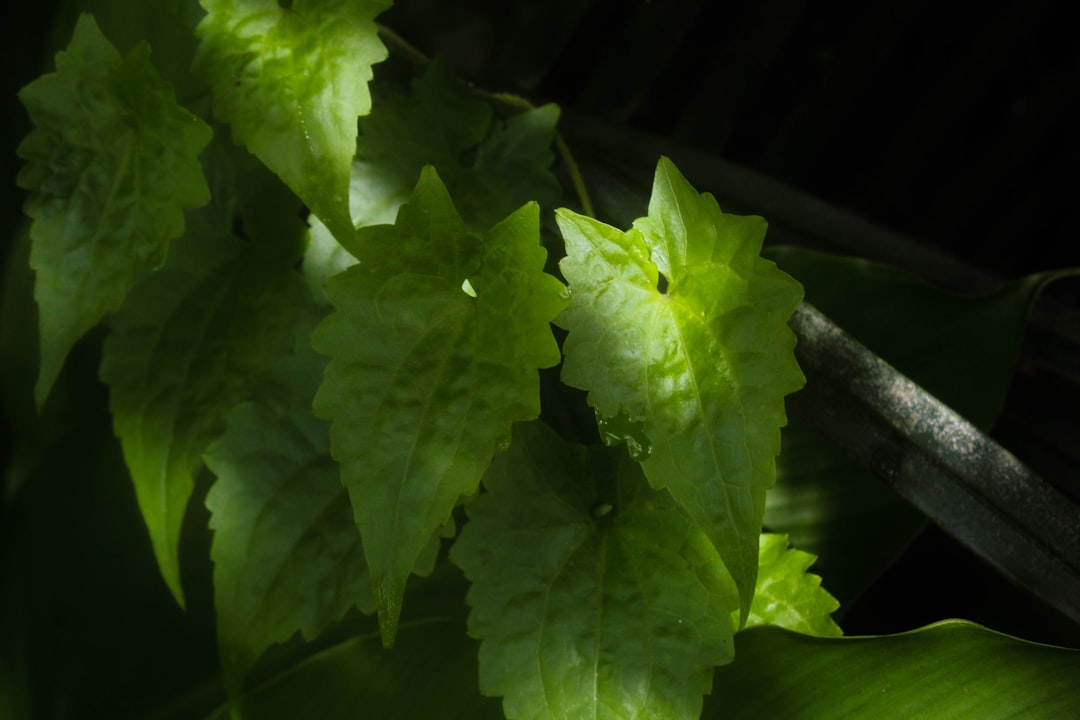
The Enchanting World of Camellia Cultivation

In the realm of gardening, few plants can rival the allure and charm of the camellia. With its ability to grace our gardens with romantic flowers during the colder months and provide beautiful foliage throughout the year, the camellia stands as a true testament to nature's artistry. In this article, we will embark on a journey to learn how to plant and grow these magnificent shrubs, unlocking the secrets to a thriving camellia garden.
### Choosing the Right Camellia Variety
The first step in cultivating camellias is selecting the appropriate variety for your garden. There are numerous types of camellias available, each with its own unique characteristics, including flower color, size, and blooming time. Some popular varieties include Camellia japonica, known for its large, showy flowers; Camellia sasanqua, which blooms earlier in the season and has a more delicate appearance; and Camellia reticulata, prized for its huge, flamboyant blossoms.
When choosing a camellia variety, consider factors such as your climate, soil conditions, and personal preferences. For example, if you live in a colder climate, you may want to choose a more cold - hardy variety. Additionally, think about the overall aesthetic you want to achieve in your garden, whether it's a formal, colorful display or a more natural, woodland - style setting.
### Preparing the Planting Site
Camellias thrive in well - drained, acidic soil that is rich in organic matter. Before planting, it's essential to prepare the site properly. Start by testing the soil pH. Camellias prefer a pH range of 5.5 to 6.5. If your soil is too alkaline, you can lower the pH by adding elemental sulfur or an acidic fertilizer.
Choose a location that receives partial shade, especially during the hottest part of the day. Direct sunlight can scorch the leaves and flowers of camellias, so a spot under the dappled shade of trees or on the east - facing side of a building is ideal. Make sure the area has good air circulation to prevent the development of fungal diseases.
Dig a hole that is twice as wide and just as deep as the root ball of the camellia plant. Mix in plenty of organic matter, such as compost, peat moss, or well - rotted manure, to improve the soil structure and fertility. This will provide a good foundation for the camellia to establish its roots.
### Planting the Camellia
Once the site is prepared, carefully remove the camellia from its container. Gently loosen the roots if they are root - bound. Place the plant in the center of the hole, making sure that the top of the root ball is level with or slightly above the surrounding soil. Backfill the hole with the amended soil, tamping it down gently to remove any air pockets.
Water the newly planted camellia thoroughly to settle the soil around the roots. Apply a layer of mulch, such as pine straw or shredded bark, around the base of the plant. Mulch helps to retain moisture, suppress weeds, and regulate soil temperature.
### Watering and Fertilizing
Camellias require regular watering, especially during the first few years after planting. Keep the soil consistently moist but not waterlogged. In general, camellias need about 1 - 2 inches of water per week, either from rainfall or irrigation. During hot, dry periods, you may need to water more frequently.
Fertilize camellias in the spring, just after they finish blooming. Use a slow - release, acidic fertilizer formulated specifically for camellias and other acid - loving plants. Follow the manufacturer's instructions for application rates. Avoid over - fertilizing, as this can lead to excessive growth and poor flower production.
### Pruning and Maintenance
Pruning camellias is an important part of their care. Prune in the spring, after the flowers have faded. Remove any dead, damaged, or diseased branches. You can also shape the plant by selectively pruning to control its size and form. However, be careful not to over - prune, as camellias bloom on old wood.
Keep an eye out for pests and diseases. Common pests that affect camellias include aphids, scale insects, and spider mites. Treat pest infestations promptly with insecticidal soap or horticultural oil. Fungal diseases, such as camellia petal blight and leaf spot, can be prevented by providing good air circulation and avoiding overhead watering.
### Enjoying the Rewards
With proper care and attention, your camellias will reward you with a spectacular display of flowers during the colder months and lush, green foliage throughout the year. Whether you plant them as a focal point in your garden, in a mixed border, or in containers on your patio, camellias are sure to add a touch of elegance and romance to any landscape.
So, roll up your sleeves, get your gardening tools ready, and start cultivating these beautiful shrubs. The world of camellia gardening awaits, offering you a chance to enjoy the beauty and tranquility that these plants bring to your outdoor space.