The Secret to a Pest - Free Cut - Flower Vase from Your Garden
There's nothing quite like the beauty and fragrance of a vase filled with cut flowers from your very own garden. However, along with these lovely blossoms, you might sometimes find unwanted guests - bugs, diseases, and weeds. But fret not! By following this simple step - by - step guide, you can enjoy a pristine vase of cut flowers while leaving all the insects and mess outside.
Step 1: Choose the Right Time
Timing is crucial when it comes to cutting flowers. Early morning is generally the best time, as the flowers are well - hydrated after the night. This makes them more resilient and less likely to wilt quickly. Avoid cutting flowers during the heat of the day, as the high temperatures can cause stress to the plants and may also increase the chances of bringing in pests that are more active in warm conditions. For example, aphids are often more mobile during the warmer parts of the day, and cutting flowers then might transfer them to your vase.
Step 2: Inspect the Flowers
Before you even reach for your pruning shears, take a close look at the flowers. Check for any signs of pests such as aphids, spider mites, or whiteflies. These tiny creatures can easily hide on the undersides of leaves or within the petals. Also, look for symptoms of diseases like powdery mildew, black spot, or rust. Diseased flowers should be left in the garden to prevent the spread of the disease to the other flowers in the vase. If you notice any weeds growing near the base of the flowers, gently remove them to avoid bringing weed seeds or debris into your home.
Step 3: Use Clean Tools
Your cutting tools play a significant role in ensuring the health of your cut flowers. Dull or dirty pruning shears can damage the stems and create an entry point for bacteria and fungi. Before making any cuts, clean your shears with rubbing alcohol or a mixture of bleach and water. This will disinfect the blades and reduce the risk of introducing harmful pathogens to the flowers. Make clean, sharp cuts at a 45 - degree angle to allow for better water absorption.
Step 4: Rinse the Flowers
Once you've cut the flowers, give them a gentle rinse under cool running water. This will help remove any loose dirt, dust, or small insects that might be clinging to the petals or stems. Be careful not to be too rough, as this could damage the delicate flowers. For hard - to - reach areas, you can use a soft - bristled brush to gently dislodge any pests or debris. After rinsing, shake off the excess water and let the flowers dry slightly before arranging them in a vase.
Step 5: Prepare the Vase
The vase you choose can also impact the longevity of your cut flowers. Wash the vase thoroughly with hot, soapy water and rinse it well to remove any residue. Fill the vase with fresh, clean water. You can add a floral preservative to the water, which typically contains a combination of nutrients, acidifiers, and biocides. The nutrients help the flowers stay fresh, the acidifiers lower the pH of the water to improve water uptake, and the biocides prevent the growth of bacteria and fungi. If you don't have a commercial floral preservative, you can make a homemade one by mixing a teaspoon of sugar, a few drops of bleach, and a splash of lemon juice in the water.
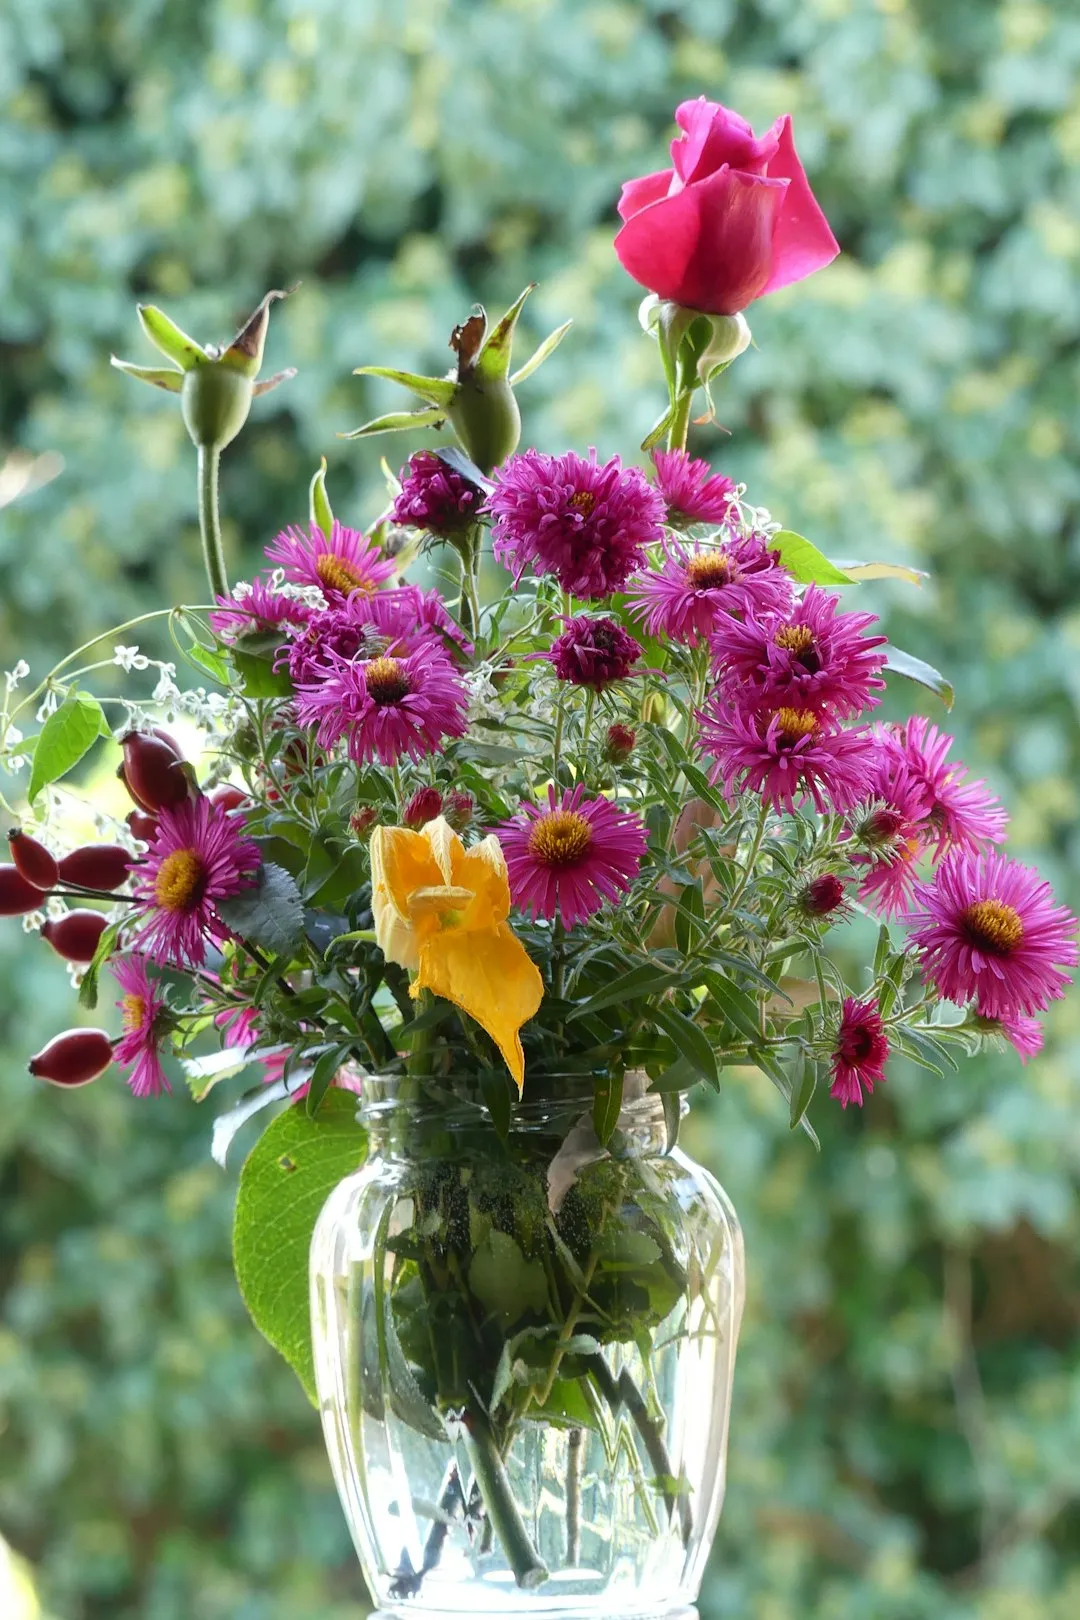
Step 6: Arrange the Flowers
When arranging the flowers in the vase, be mindful of overcrowding. Leave enough space between the stems to allow for proper air circulation. This will reduce the humidity around the flowers and prevent the growth of mold and mildew. Remove any leaves that will be below the waterline, as they can decay and contaminate the water. Start with the larger, focal flowers and then fill in with smaller blooms and greenery. You can use floral tape or a floral frog to help keep the stems in place.
Step 7: Maintain the Vase
To keep your cut flowers looking their best for as long as possible, change the water every two to three days. This will prevent the build - up of bacteria and keep the water fresh. Each time you change the water, trim about an inch off the bottom of the stems at a 45 - degree angle to expose fresh tissue for better water absorption. Keep the vase away from direct sunlight, heat sources, and drafts, as these can cause the flowers to wilt more quickly. Also, avoid placing the vase near fruits, as fruits release ethylene gas, which can accelerate the aging process of the flowers.
By following these simple steps, you can enjoy a beautiful, pest - free vase of cut flowers from your garden. Not only will your home be filled with the colors and scents of nature, but you'll also have peace of mind knowing that you've taken the necessary precautions to keep bugs, diseases, and weeds at bay.