Elevate Your Orchid Display with Hanging Pots
When it comes to garden design, adding a touch of creativity can transform an ordinary space into a captivating oasis. One such innovative idea is to make your orchid planter more dynamic by incorporating hanging pots into your design. This DIY orchid hanging project is not only a fun and rewarding activity but also a great way to showcase your orchids in a unique and eye - catching manner.
The beauty of this project lies in its simplicity and the relatively short time it takes to complete. In fact, you can finish this DIY orchid hanging project in under an hour, and all you need are just a few materials. First and foremost, you'll need some hanging pots. These can come in various shapes, sizes, and materials. Terracotta pots offer a rustic charm, while plastic pots are lightweight and more affordable. You can choose the ones that best suit your garden's aesthetic and your personal preferences.
Next, you'll require a sturdy hanging mechanism. This could be a simple chain, a wire, or a macrame hanger. The choice of the hanging mechanism depends on the style you want to achieve and the weight of the pots. For heavier terracotta pots, a strong chain might be the best option, while a delicate macrame hanger can add a bohemian touch to lighter plastic pots.
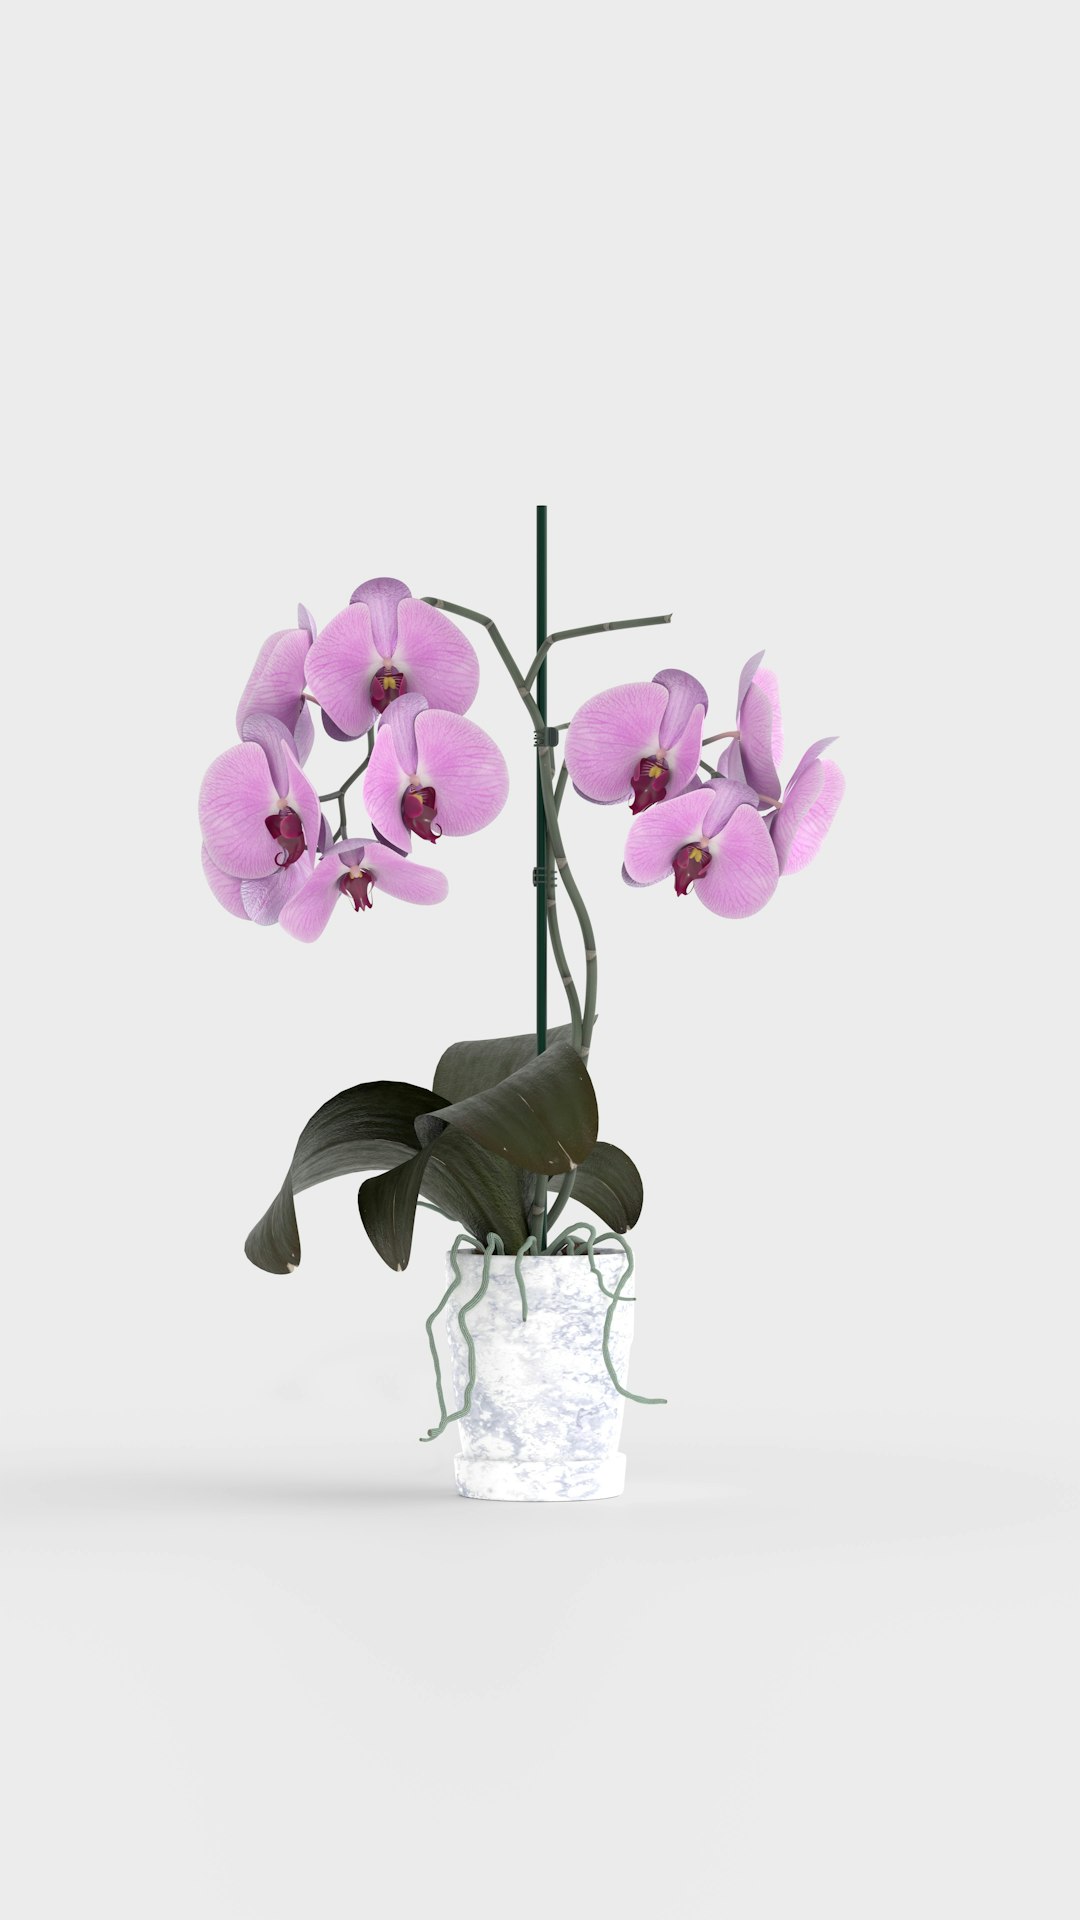
Of course, the star of the show is the orchids themselves. Select healthy orchids with vibrant blooms. Different orchid varieties have different care requirements, so make sure you choose the ones that are well - suited to your local climate and the conditions in your garden. Phalaenopsis orchids are a popular choice as they are relatively easy to care for and come in a wide range of colors.
Once you have gathered all the materials, it's time to start the project. Begin by preparing the hanging pots. If you're using terracotta pots, soak them in water for a few minutes to prevent them from absorbing moisture from the soil too quickly. Then, fill the pots with a well - draining orchid mix. Orchids need a growing medium that allows air to circulate around their roots, so avoid using regular potting soil.
Carefully remove the orchids from their original containers and gently loosen the roots. Place the orchids in the hanging pots, making sure the roots are spread out evenly. Add more orchid mix around the roots to secure the plants in place.
Now, it's time to attach the hanging mechanism to the pots. If you're using a chain, you can use small hooks or rings to attach it to the pots. For a macrame hanger, follow the instructions to tie the knots and attach the pot to the hanger.
Finally, find the perfect spot to hang your orchid planters. Orchids generally prefer bright, indirect light. Avoid placing them in direct sunlight, as this can scorch the leaves and damage the blooms. You can hang them on a porch, under a pergola, or even inside near a window.
By incorporating hanging pots into your orchid planter design, you create a multi - dimensional display that adds depth and visual interest to your garden. The hanging pots can be arranged at different heights, creating a cascading effect that is both beautiful and unique. This not only makes your orchid collection more dynamic but also maximizes the use of space, especially if you have a small garden.
Moreover, this DIY project allows you to express your creativity. You can mix and match different types of orchids, pots, and hanging mechanisms to create a one - of - a - kind display that reflects your personal style. Whether you prefer a modern, minimalist look or a more eclectic and colorful arrangement, the possibilities are endless.
In conclusion, making an orchid planter more dynamic with hanging pots is a wonderful garden design idea. It's a quick and easy DIY project that can have a big impact on the overall look of your garden. So, gather your materials, roll up your sleeves, and start creating your own unique orchid hanging display today.