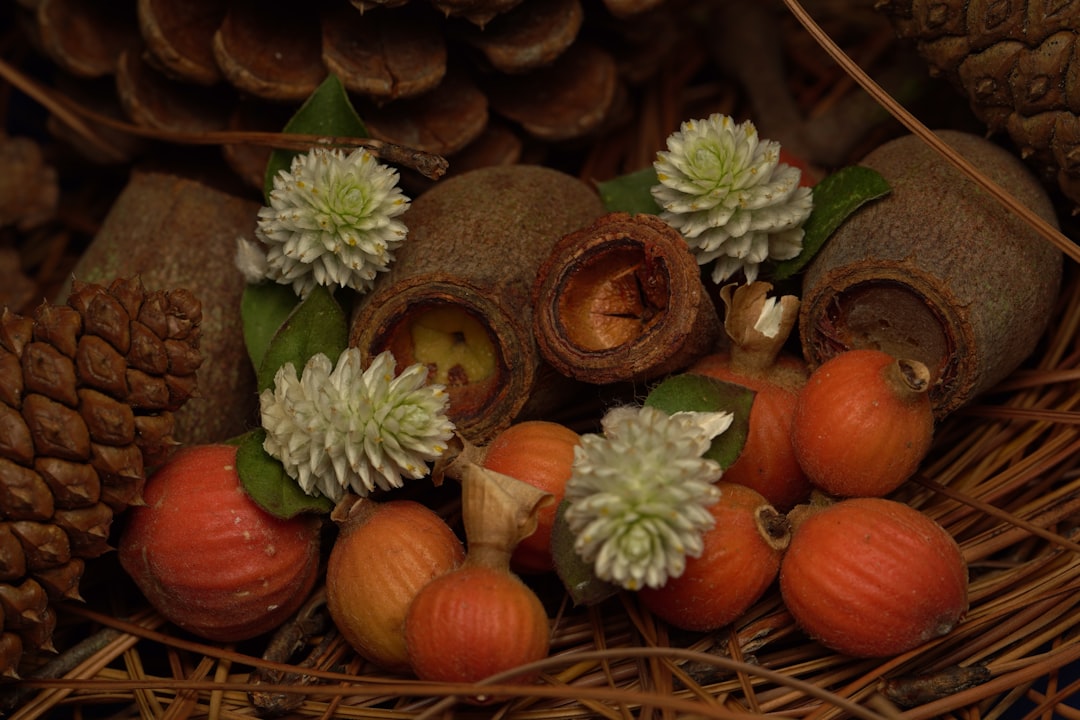
The Tiny Powerhouses of Your Garden: Cucamelons

In the world of edible gardening, there's a hidden gem that combines the charm of a novelty with the health - benefits of a superfood: the cucamelon. These little wonders, which look like miniature watermelons, are not only a delight to the eyes but also a nutritional powerhouse, brimming with antioxidants, vitamins, and fiber. Let's embark on a journey to learn how to grow these unique fruits in your own garden.
### Understanding Cucamelons
Cucamelons, scientifically known as Melothria scabra, are native to Central and South America. Despite their appearance that resembles a cross between a cucumber and a watermelon, they have a distinct flavor profile. They taste like a slightly tart cucumber with a hint of lemon. These vining plants are relatively easy to grow, making them a great addition to both beginner and experienced gardeners' plots.
### Starting from Seeds
The first step in growing cucamelons is to start with high - quality seeds. You can purchase them from a reputable nursery or online seed supplier. Start the seeds indoors about 4 - 6 weeks before the last expected frost in your area. Fill small seedling trays with a well - draining seed starting mix. Plant the seeds about 1/4 inch deep and keep the soil moist. Place the trays in a warm location, ideally around 70 - 75°F (21 - 24°C). You should see seedlings emerge within 7 - 14 days.
### Transplanting
Once the danger of frost has passed and the seedlings have developed a few sets of true leaves, it's time to transplant them outdoors. Choose a sunny spot in your garden that receives at least 6 - 8 hours of direct sunlight per day. Cucamelons thrive in well - drained soil that is rich in organic matter. Amend the soil with compost or well - rotted manure before planting. Space the plants about 12 - 18 inches apart to give them enough room to grow and spread.
### Providing Support
As cucamelons are vining plants, they need support to grow properly. You can use a trellis, fence, or even a tomato cage. Install the support structure at the time of transplanting to avoid disturbing the roots later. As the plants grow, gently guide the vines onto the support. This not only keeps the plants organized but also helps to improve air circulation, reducing the risk of diseases.
### Watering and Fertilizing
Cucamelons require regular watering to keep the soil evenly moist. However, be careful not to over - water, as this can lead to root rot. A good rule of thumb is to water deeply once or twice a week, depending on the weather conditions. During hot, dry spells, you may need to water more frequently. Fertilize the plants every 3 - 4 weeks with a balanced, all - purpose fertilizer. This will provide them with the necessary nutrients for healthy growth and fruit production.
### Pest and Disease Management
Like any garden plant, cucamelons can be susceptible to pests and diseases. Common pests include aphids, cucumber beetles, and spider mites. You can control these pests by using natural methods such as spraying the plants with a strong stream of water or using insecticidal soap. For diseases, such as powdery mildew, ensure good air circulation around the plants and avoid overhead watering. If necessary, you can use a fungicide according to the manufacturer's instructions.
### Harvesting
Cucamelons typically start to produce fruit about 60 - 70 days after transplanting. The fruits are ready to harvest when they are about the size of a grape or slightly larger. Simply gently twist or snip the fruits from the vine. They can be eaten fresh, added to salads, pickled, or used in cocktails. The more you harvest, the more the plants will produce, so don't be shy about picking those little cucamelons!
In conclusion, growing cucamelons in your edible garden is a rewarding experience. With a little care and attention, you can enjoy a bountiful harvest of these delicious and nutritious fruits. So, why not give cucamelons a try in your garden this season?