Unleash Your Creativity: DIY Planters for a Stunning Container Garden
Container gardens are a wonderful way to bring the beauty of nature into small spaces, balconies, or patios. While store - bought concrete containers have their charm, there's something incredibly rewarding about creating your own planters. With a simple DIY planter project, you can add a personal touch to your container garden and save some money in the process.
### Getting Started
Before you dive into the project, gather all the necessary materials. You'll need concrete mix, a mold (you can use various items like plastic buckets, old bowls, or even repurposed containers), a trowel, a mixing tub, and some water. Make sure to choose a well - ventilated area to work in, as concrete can produce dust and fumes.
### Choosing the Right Mold
The mold you select will determine the shape and size of your planter. If you're going for a classic look, a simple round or square plastic bucket can work wonders. For a more unique design, consider using an old ceramic bowl or a decorative plastic container. Just ensure that the mold is clean and dry before you start.
### Mixing the Concrete
Follow the instructions on the concrete mix package to prepare the right consistency. Generally, you'll need to add water to the mix in the mixing tub and stir it thoroughly with a trowel. The concrete should be thick enough to hold its shape but still pourable. Be careful not to add too much water, as this can weaken the final product.
### Pouring the Concrete
Once the concrete is well - mixed, slowly pour it into the mold. Use the trowel to spread the concrete evenly and remove any air bubbles. You can tap the side of the mold gently to help the air escape. If you want to add some decorative elements, such as small stones or shells, you can press them into the wet concrete at this stage.
### Curing the Planter
After pouring the concrete, let the planter cure for at least 24 - 48 hours. Keep it in a dry and warm place, away from direct sunlight. During this time, the concrete will harden and gain strength. Once it's fully cured, carefully remove the planter from the mold. You may need to tap the sides of the mold gently to loosen the planter.
### Finishing Touches
Now that your planter is out of the mold, you can give it a few finishing touches. Sand the edges to smooth them out and remove any rough spots. You can also paint the planter with outdoor - safe paint to match your garden's color scheme. If you want to make it more water - resistant, you can apply a sealant.
### Planting in Your DIY Planter
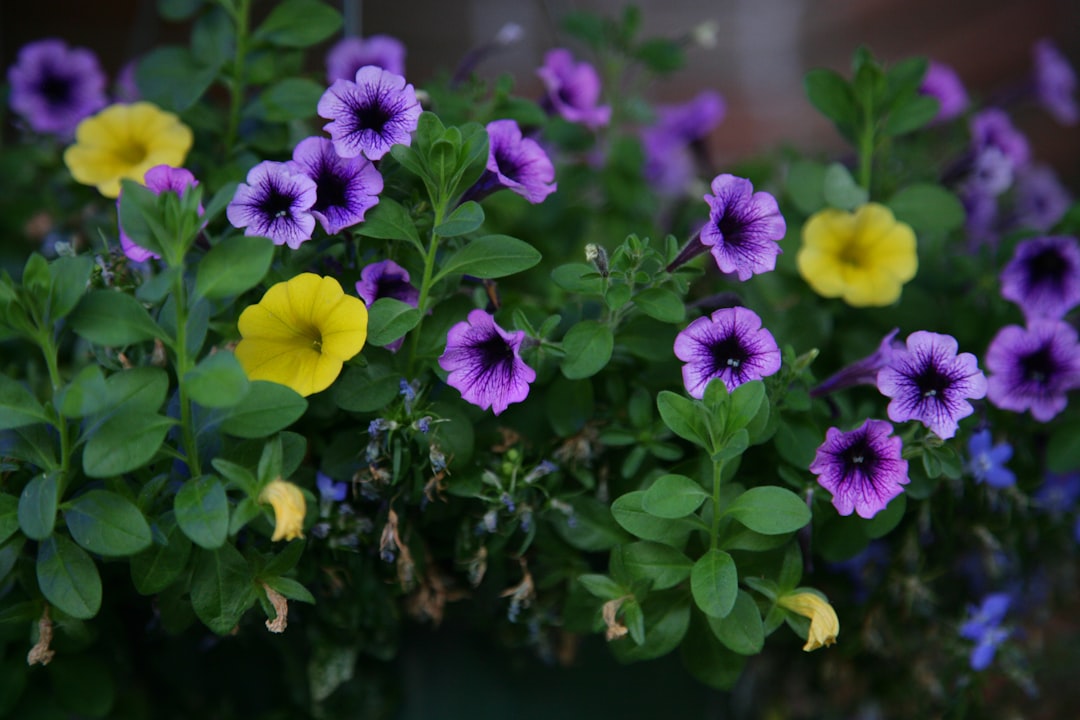
Once your planter is ready, it's time to choose the right plants. Consider the amount of sunlight your container garden will receive and the size of the planter. You can plant a variety of flowers, herbs, or small vegetables. Make sure to add a layer of gravel at the bottom of the planter for drainage and then fill it with potting soil. Gently place the plants in the soil and water them thoroughly.
### Maintenance
Maintaining your container garden is relatively easy. Water the plants regularly, but be careful not to over - water. Check the soil moisture by sticking your finger about an inch into the soil. If it feels dry, it's time to water. Fertilize the plants every few weeks to keep them healthy and blooming.
### Conclusion
Creating your own DIY planters for your container garden is a fun and rewarding project. It allows you to express your creativity, save money, and add a unique touch to your outdoor space. With a little time and effort, you can have a beautiful container garden filled with your homemade planters.